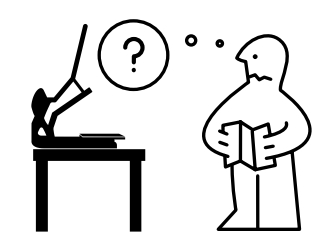
Have you ever been in this scenario: You are cutting some logos/graphics for a client and you notice that the cut lines are not smooth, the corners don’t connect, or you have to keep turning up the force to cut through the vinyl?
These are common cutting issues and if you can identify them early in your production and know how to fix them, you can save yourself a lot of time and headache.
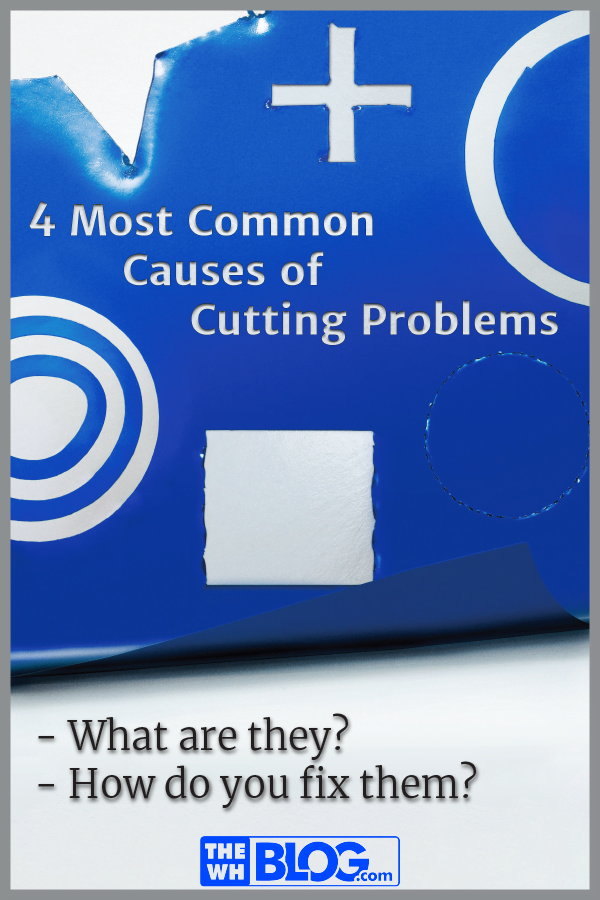
99% of cutting problems come from the BIG 4 :
- Worn/Damaged Blade
- Worn Blade Holder
- Worn Cutter Strip
- Worn/Damaged Pinch Roller Wheels
(These are listed in order of most commonly the cause of cutting problems to least.)
BLADES

What is the problem?
Most cutting problems (like not cutting through the vinyl, inconsistent cut lines, corners not connecting, or excessive/continual increase of force) are caused by a worn or broken blade. It is the first thing we check when cutting vinyl in-house and it’s the first thing we ask customers who have problems.
Since this part of the cutter gets a lot of movement and friction, it is bound to wear down and sometimes even break. The quality of the materials in the blade can vary, depending on where you purchase your blades. Some are made with superior metals and are therefore harder, sharper, and can last longer.
BUT BEWARE – A brand-new, high-quality blade doesn’t guarantee cutting success. There are other parts and cutting conditions to check (see items below).
How do you fix it?
Look at the blade tip under a magnifying glass or loupe. Does the blade look worn down, rounded or broken?

If you see damage to the blade tip, then obviously you will want to replace the blade. Even if it looks like the tip is sharp, still try putting a new blade in. Sometimes, even under magnification, our eyes cannot see the damaged tip. The majority of the time, replacing the blade with a new one fixes the problem.
If a new blade doesn’t fix the problem, move on to the Blade Holder.
BLADE HOLDER

What is the problem?
When the blade has been replaced and there are still cutting problems, the next culprit to check is the Blade Holder. This could be worn or damaged because of dust and debris built up inside the blade holder cap.
How do you fix it?
A good practice is to regularly unscrew the blade holder cap, check for debris and blow it out by mouth or using a can of compressed air. However, overtime and after much use, the internal components of blade holders will wear down.
One way to check if the blade holder is worn or broken is to take it ‘in-hand’ and try to move and spin the blade around the material you’re cutting. If it doesn’t spin smoothly, or feels like it catches when turning a corner, then it definitely needs to be replaced. If it feels smooth to you but you are still having cutting problems after trying the other suggestions, try replacing it anyway. The internal parts could be worn out, maybe not enough for you to feel it, but just enough to cause problems.
CUTTER STRIP
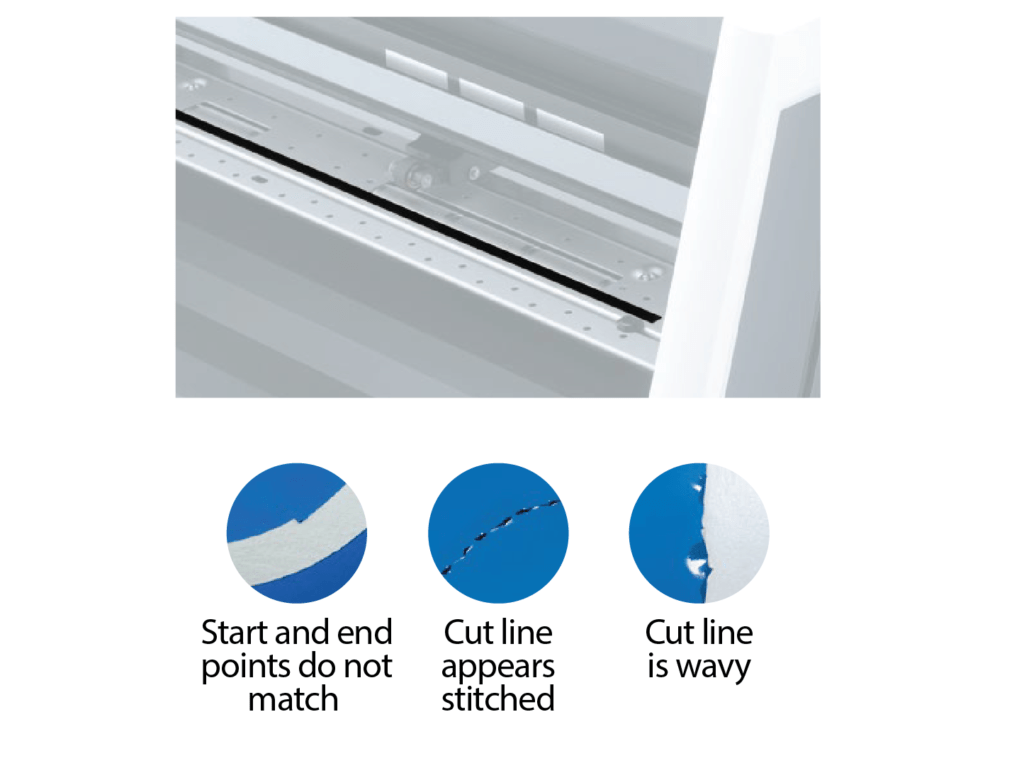
What is the problem?
This is the thin strip of plastic underneath where the blade is doing the cutting. It allows the material to slide back and forth smoothly while also providing a backer like a cutting board for the blade to press down on. When this strip is flat, you get even cutting pressure, which results in a smooth cut. But over time and with increased pressure this strip can and will develop grooves, nicks, gouges, etc… This can lead to poor cutting results. And if the blade gets caught in one of those grooves, the tip of that blade can break.
How do you fix it?
Regularly check the cutter protection strip. If you can’t visually see any damage, run your fingers over the strip to feel for any irregularities and replace if needed. This will help your blades last longer and is essential to maintaining your cutter and getting the best possible cut for your graphics.
TOP TIP: If you notice the vinyl cutting poorly in the same area on a sheet/roll, check that area of the cutter strip. Chances are that you will find a groove or gouge in that spot.
PINCH ROLLER WHEELS

What is the problem?
This one is the least common cause of cutting problems but it’s good to be aware of. Because the pinch roller wheels are made of rubber, they can wear out or develop flat spots if left in the down/pressurized position when not in use. This will cause the material you are cutting to not feed smoothly, which will negatively affect the quality of the cut.
How do you fix it?
Prevention is the best way, by not leaving the pinch roller wheels in the down position when not using the cutter. This is especially true when leaving the shop at night. So make it a practice to keep those wheels in the up position.
If the wheels already have flat spots, don’t despair. The wheels can be replaced on most roll-fed cutters.
Here is a video from Roland DGA showing how you can DIY (do it yourself). If you don’t feel qualified or don’t have the time to replace it yourself, contact your local dealer (or the company you purchased the cutter from) and have a certified technician replace them for you.
We hope this list of potential problems and the solutions has been helpful. While there are other causes for cutting problems that require a technician to come out to diagnose/fix, those are very rare. By following these steps, you should be able to properly maintain your cutter and keep using it for years to come.
If you have any questions, our team of experts are here to help: